Finally finished this one. It was tricky because it's round and has a lot of curves. It was this project that made me decide the build a CNC. I got tired of trying to make perfect circles by hand so I researched a DIY CNC and spent months building one. It definitely would have made building the Probe Droid a lot easier. To start I cut ribs that made up the profile of the separate sections. I then filled the gaps between the ribs with foam and covered the whole piece with auto body filler. The stuff sands to an amazing finish but the smell is awful.
Before the CNC this was my best idea for cutting circles.
Another example of where a CNC would have come in handy. A bunch of repetitious parts that all need to match. By hand you can get close but not nearly as accurate as a machine.
After I had all the forms I made molds and then cast them in resin. If I had to do it again I would just vacuum form the whole thing. This takes me to another project this droid spawned. I spent a bunch of time researching vacuum form machine and decided to build one. It's probably my favorite tool in the shop!
And now on to the fun part - making it move. There's been a few kits online of the probe droid and quite a few people have added electronics to them. I really wanted to take the challenge and work with a microcontroller and build it from scratch. After some snooping around on the internet I came across the Picaxe chip. The Picaxe chips are no different then your ordinary PIC microcontroller accept they add their open programming that allows you to program it with a very simple language. It didn't take long at all to learn the programming and after some trial and error I got everything working exactly how I imagined.
At first I tested the wiring and program on a breadboard. This made it a lot easier to make changes.
Then on to the painting. In all the photos from the traveling show the Probe Droid appears to have a brown hue to it. I believe this was done when it was reused for Return of the Jedi. I prefer sticking with Black. I base coated the whole model with Tamiya Flat Black the dusted it with a Dark Aluminum. All of the weathering was then done with pastels.
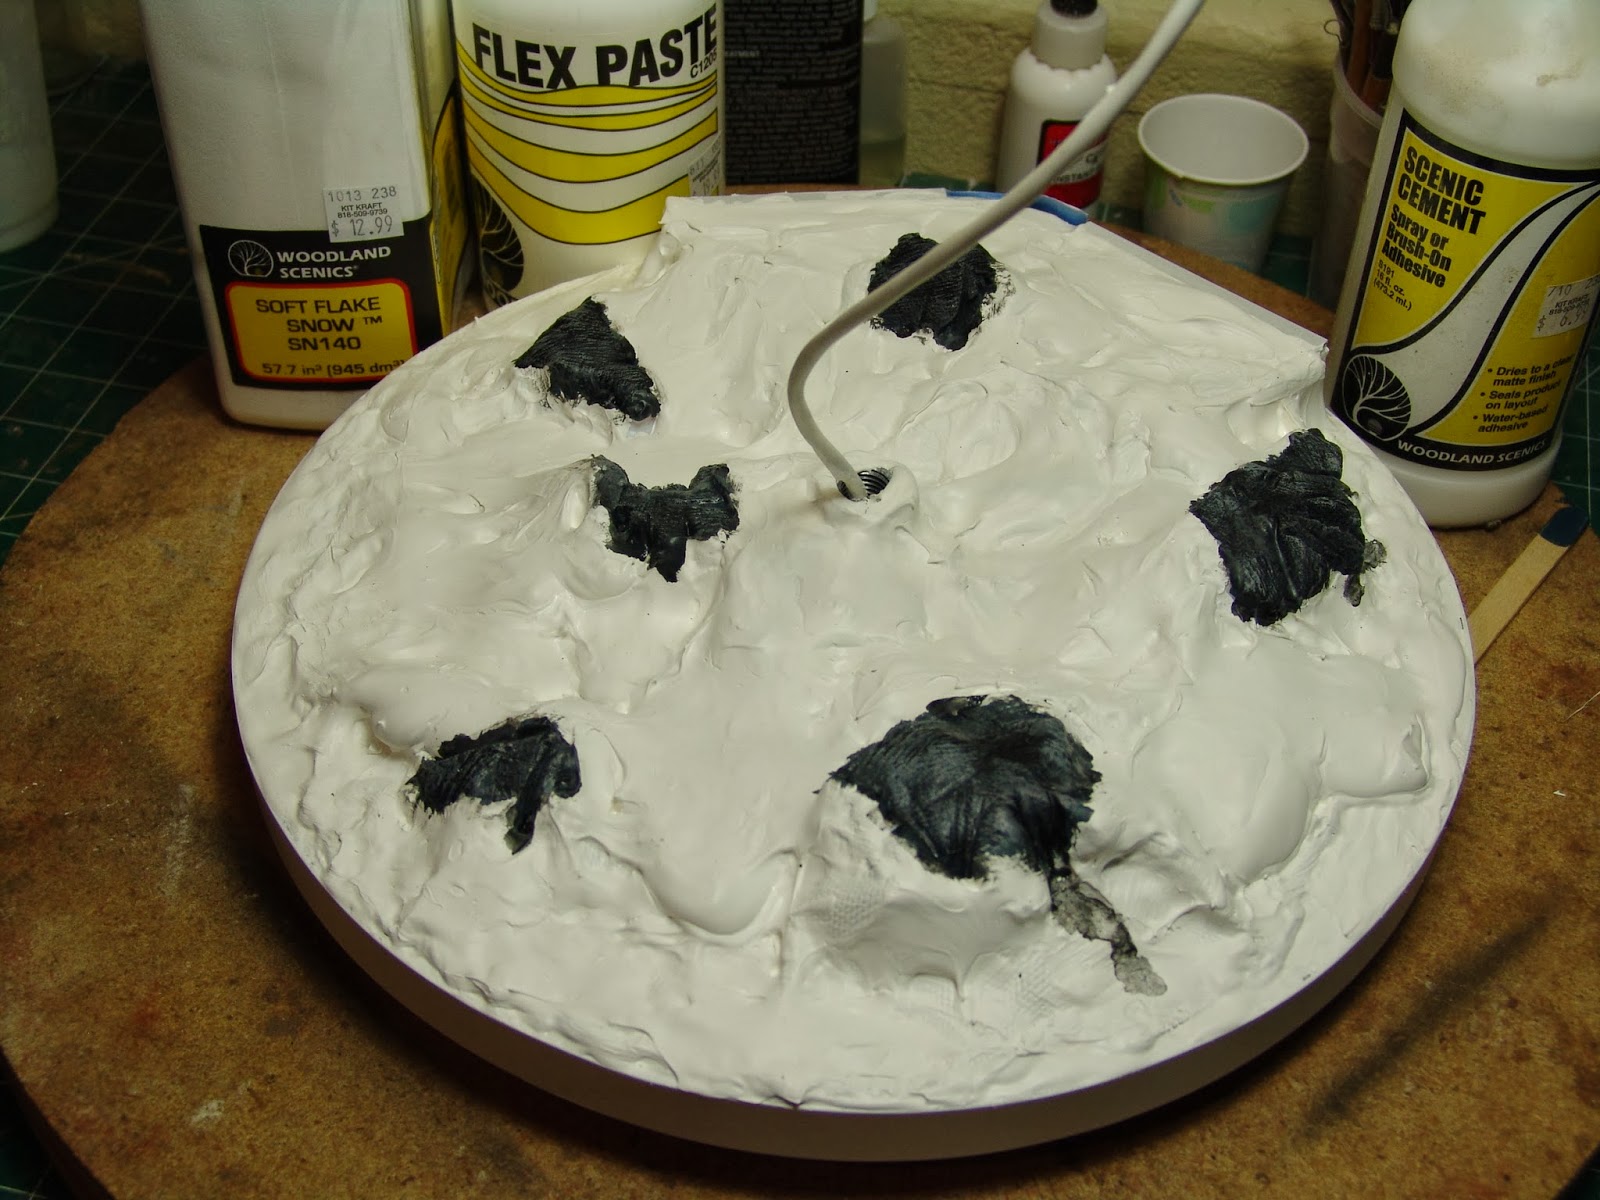
To create the base I used Woodland Scenic's method for snow. It starts with their Flex Paste to build up the forms. Once this is dry to cover that with their Snow Flake. The result is really convincing.




 Posts
Posts


